How to - Specification - Plantation shutters
NEW fully assembled Plantation Shutters
Coming Soon Melbourne & Sydney Delivery only. Call 1300 664 257 for more details.
Unique light block features
Select from Interlocking or Elliptical blades
NEW fully assembled Plantation Shutters
Coming Soon Melbourne & Sydney Delivery only. Call 1300 664 257 for more details.
Save 10% off Plantation Shutters
Use code Spring10 at checkout
SAVE 10% off Plantation Shutters
SALE ON NOW - use code SPRING10 at checkout.
NEW fully assembled Plantation Shutters
Coming Soon Melbourne & Sydney Delivery only. Call 1300 664 257 for more details.
NEW fully assembled Plantation Shutters
Coming Soon! Melbourne Delivery only.Call 1300 664 257 for more details.
Unique light block features
Resulting in better light control. Enquire today
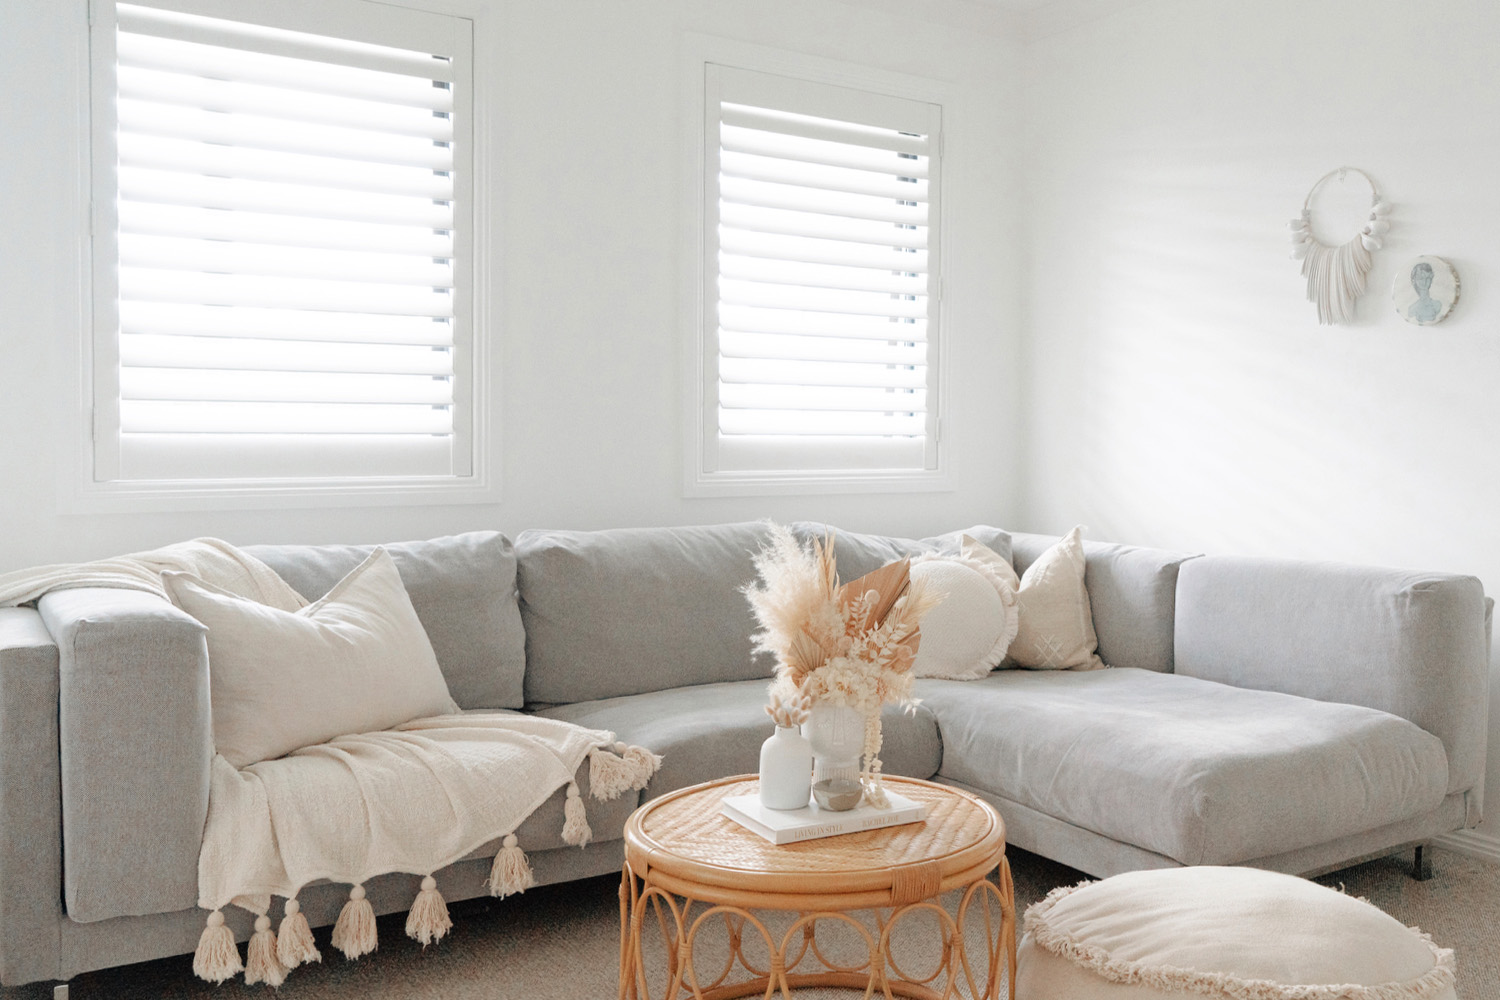
Plantation shutters features
- Easy to operate and very versatile
- Provide privacy and insulation
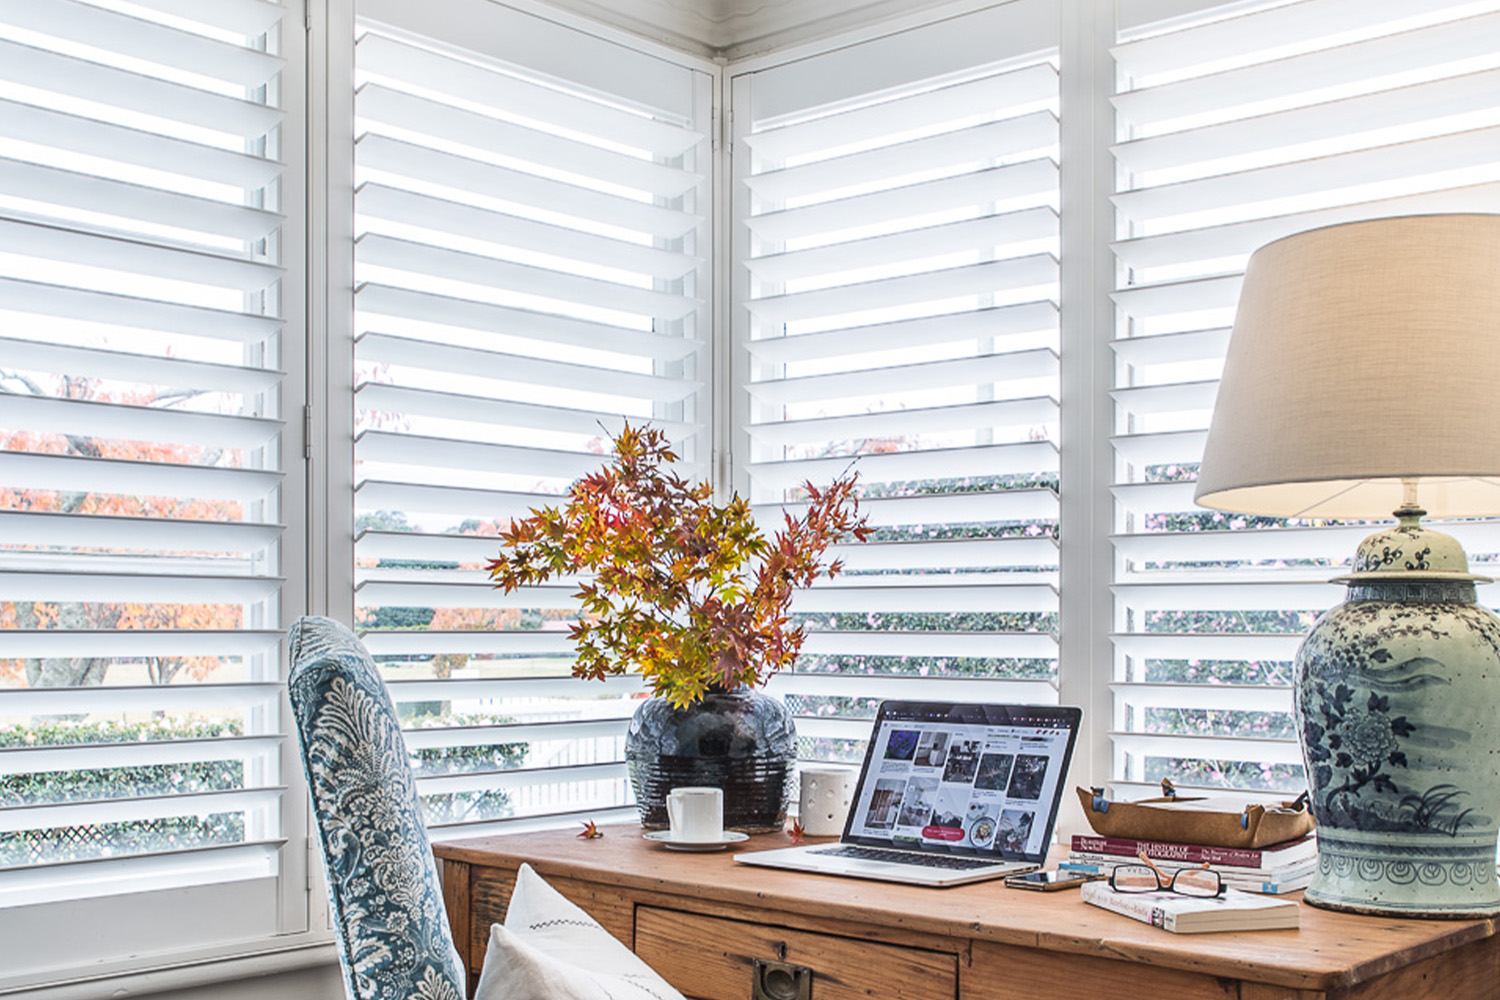
- Clearview functionality means an unobstructed view
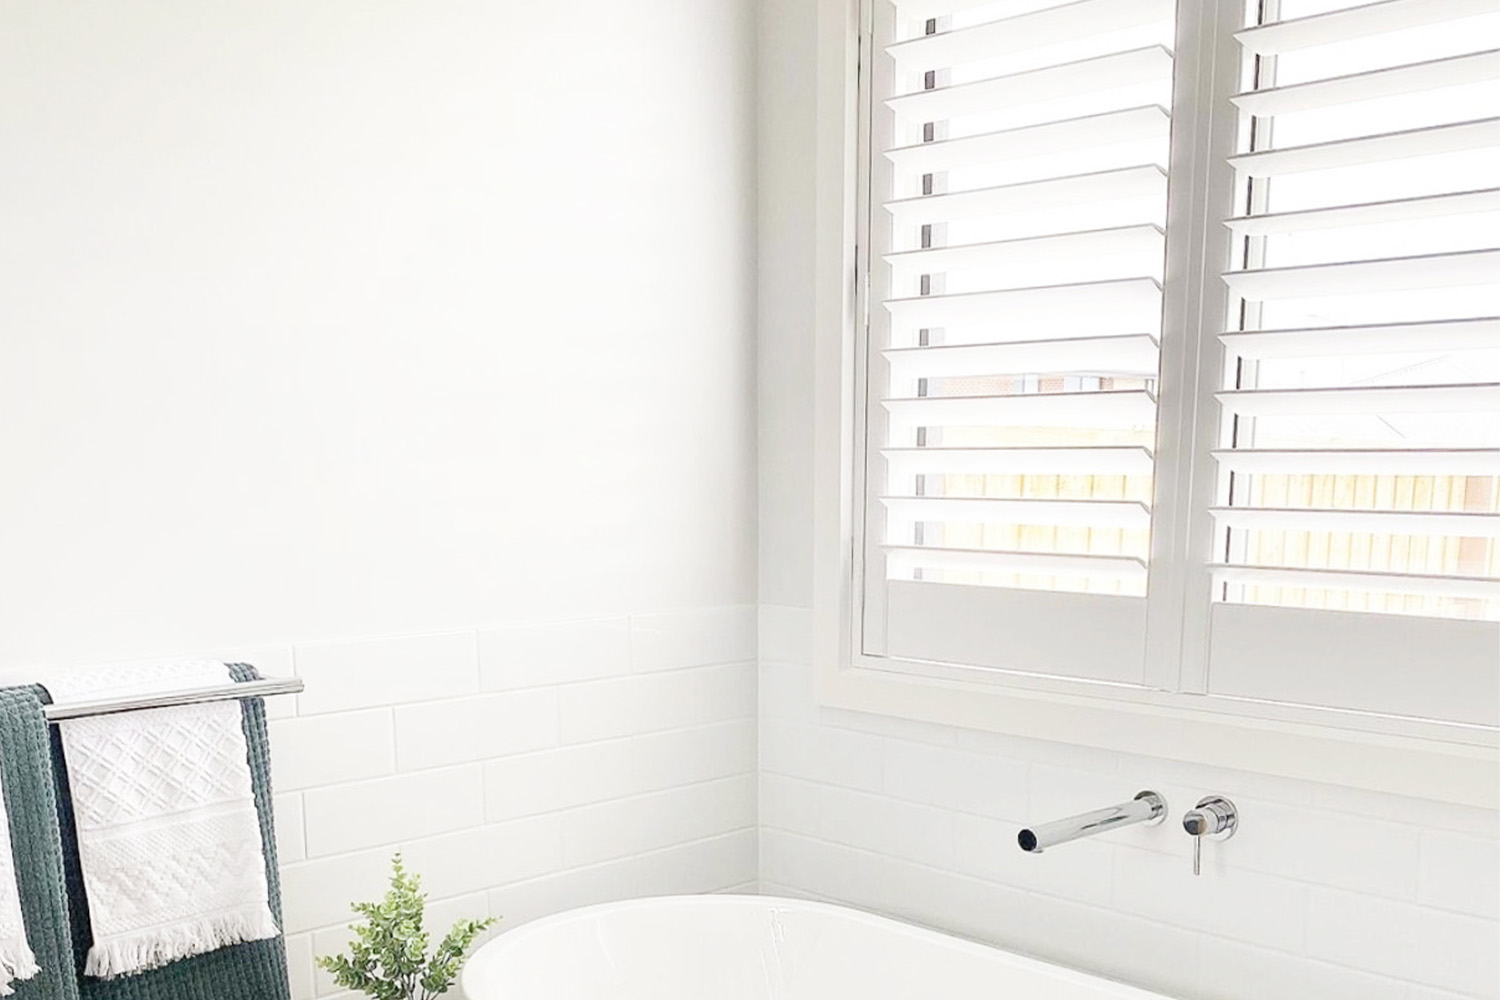
- Made from PVC, resistant to moisture & humidity
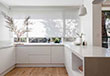
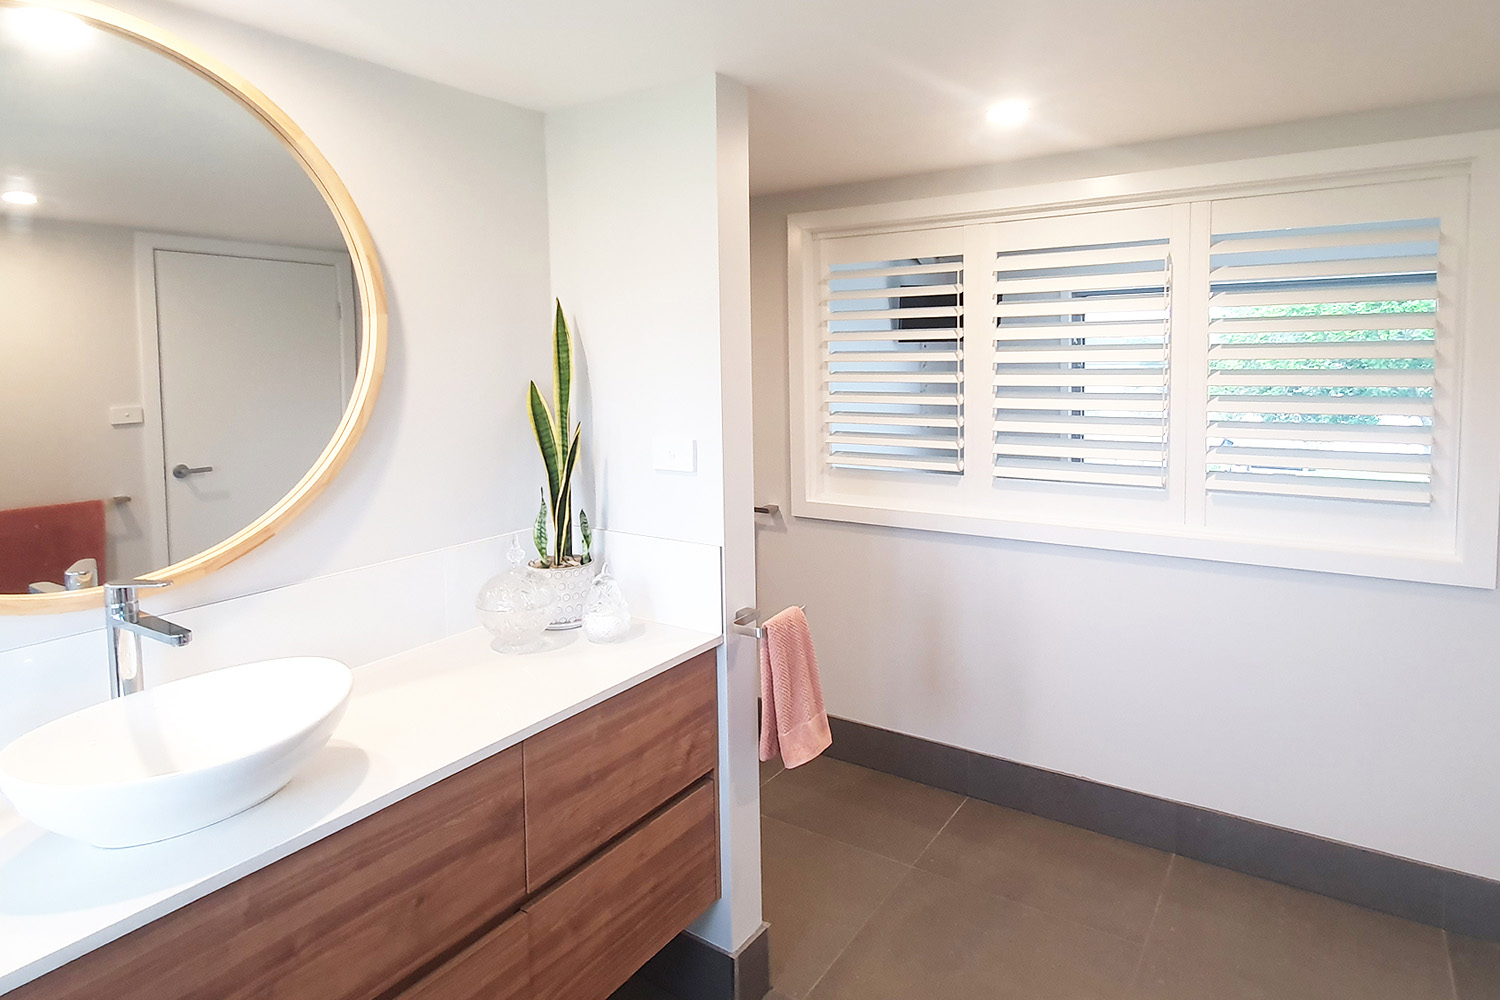
- Perfect for kitchens, bathrooms & laundrys
- Each blade has an aluminium core providing strength & durability
- Add value to your property with timeless character & curbside appeal
- These self assembly kits deliver an affordable solution
- Easy to clean
- Suitable for any room of the home
PLEASE NOTE - We are currently experiencing a pricing issue with the launch of our new website. Pricing for plantation shutters is $269 per square metre (Not $124.50 as shown below and in cart) Until this issue is fixed, we are unable to accept any orders. Please accept our apologies for this inconvenience as we look to rectify it as soon as possible.
- Easy to operate and very versatile
- Provide privacy and insulation
- Clearview functionality means an unobstructed view
- Made from PVC, resistant to moisture & humidity
- Perfect for kitchens, bathrooms & laundrys
- Each blade has an aluminium core providing strength & durability
- Add value to your property with timeless character & curbside appeal
- These self assembly kits deliver an affordable solution
- Easy to clean
- Suitable for any room of the home


Sizes – Minimums & Maximums
To ensure you always get a great result, we have minimum and maximum dimensions for our plantation shutters, depending on your selected panel layout.
* Please note: Maximum widths will vary based on the Panel layout selected
See our available Plantation Shutter panel layouts here
View our Plantation Shutter panel layouts here
| Width (mm) | Drop (mm) |
|---|---|
| Minimum Panel width: U Channel & Direct Mount 200 mm L Frame & Z Frame 250mm |
Minimum drop: 300 mm |
| Maximum width: 5700* mm | Maximum drop: 2400 mm |
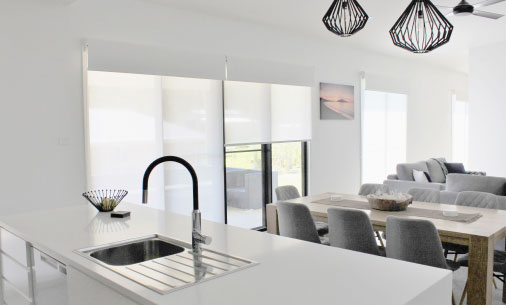
Extra wide roller blinds
If your window is wider than 3,000mm, linked rollers blinds enable you to place blinds side by side across your windows, bifold or stacking doors. You can keep any chains clear of the centre and the gap between the blinds is greatly reduced with the use of our linking brackets.
Our linked layouts give you the option to link 2, 3, or 4 blinds for a maximum width of 12,000mm.
Plantation shutters specifications
-
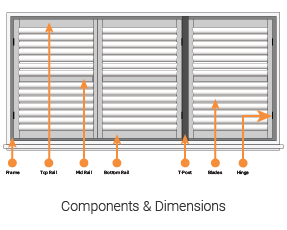 Plantation Shutter Components OverviewTo ensure a successful installation of your plantation shutters it’s important to gain an understanding of the components ...Read More
 -
 Plantation Shutters dimensions - Minimums & MaximumsTo ensure you always get a great result, we have minimum and maximum dimensions for our plantation shutters, depending on ...Read More
 -
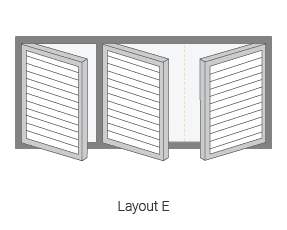 Plantation Shutter Layout ChartThere are a variety of panel layouts to choose from. Michael has 2 simple rules to follow when deciding which panel layou...Read More
 -
 Clearview FunctionalityClearview functionality means that the tilt rod is positioned to the side of the panel and therefore not visible when your...Read More
 -
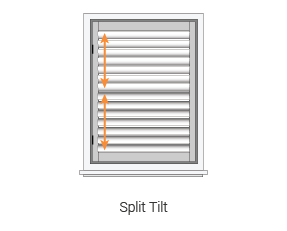 Split TiltA split tilt rod allows flexibility to open or close sections of your shutter blades separately, giving you greater light ...Read More
 -
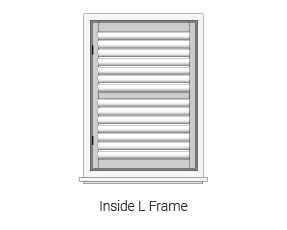
 Frame OptionsOur self-assembly plantation shutters can be inside mounted, outside mounted or direct mounted, with various frame types a...Read More
 -
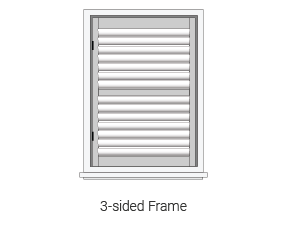
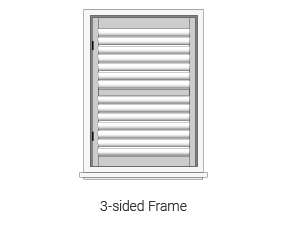 3 or 4 Sided frameWhen selecting an L or Z frame you will have the choice of either a 3 or 4 sided frame, depending on any obstructions you ...Read More
 -
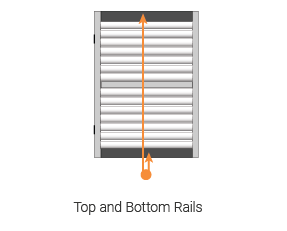 Top and Bottom RailsThese rails provide strength and stability to the shutter. They are positioned at the top and bottom of your shutter panel...Read More
 -
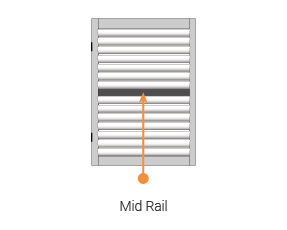 Mid RailMid rails are fixed across the width of your panels, they are approx. 76mm in height and provide stability and strength to...Read More
Plantation shutters options
Plantation Shutter Kits
- Sturdy PVC material with an aluminium core
- Provides privacy and insulation
- Let in light and keep your view
- Customisable options to suit your home
Plantation shutters options
Our self-assembly plantation shutter kits are manufactured in Melbourne to the exact dimensions of your windows and customised to operate how you choose.
Plantation Shutter Kits
- Sturdy PVC material with an aluminium core
- Provides privacy and insulation
- Let in light and keep your view
- Customisable options to suit your home
Try our free samples first
Find the perfect colour and texture to suit your home décor. Our free samples let you get the look and feel of our fabrics before you buy. And they’re always free, including shipping.
Get free samplesReady to order?
DIY can be daunting at first, but our customers always tell us it was easier than they thought. And we’re here to help with detailed, easy-to-follow guides, instructions, and videos.
See guides and videos
Validate your login